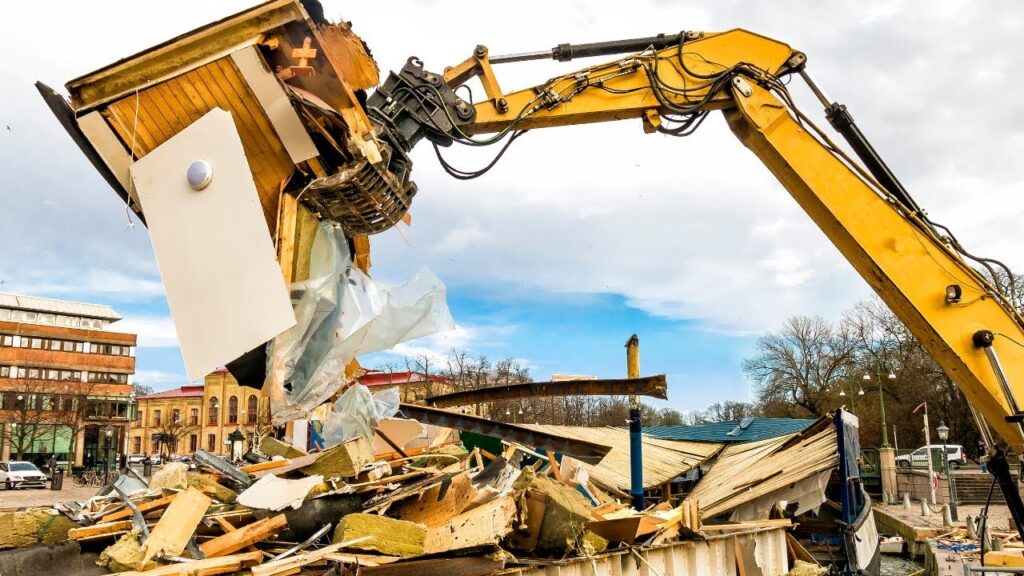
Light demolition services are usually the first step when you want to change or improve a space. Whether you’re fixing a room, removing old cabinets, or breaking a small wall, light demolition helps clear the area safely.
Even though it’s not about breaking the whole building, you still need to plan it well, use the right tools, and do the work carefully. If done properly, it saves time, avoids damage, and helps your project begin smoothly.
Why Light Demolition Is Important Before Renovation?
Before you begin rebuilding, you must first remove the parts you no longer need. This could include flooring, interior walls, tiles, or old furniture and fixtures. Light demolition helps clean the slate for what’s next.
This process is also useful in both residential demolition and commercial light demolition projects. From upgrading an old kitchen to remodeling an office, properly done light demolition ensures you’re working in a safe and clean environment.
Define the Scope of the Demolition Work
Before starting, always know exactly what needs to go and what should stay. Having a clear plan avoids confusion and prevents damage to parts of your home or space you want to keep.
Ask yourself: Are you removing flooring, drywall, or cabinets? What kind of materials are involved—wood, tile, metal? And are there plumbing or electric lines behind the walls? Understanding these details ensures safer and faster demolition.
Inspect the Site for Hazards and Risks
Safety comes first. Even for small jobs, you should inspect the area for hidden dangers like mold, asbestos, or lead paint. These can cause serious health issues if not handled properly.
Also, locate plumbing pipes and electrical wires. Accidentally cutting through a wire or pipe can lead to expensive repairs and serious injuries. If you spot potential dangers, it’s better to bring in professional demolition contractors who know how to handle such issues.
Gather the Tools and Safety Gear
Using the right tools saves time and reduces mess. You’ll need basic hand tools like sledgehammers, pry bars, and crowbars for controlled removal. For stronger materials, power tools like saws and drills are essential.
Don’t forget your protective gear. Always wear gloves, safety glasses, a dust mask, and steel-toe boots. This is especially important during interior demolition, where debris and dust can fly quickly in closed spaces.
Prepare the Work Area for Safe Demolition
Preparation keeps things clean and safe. Cover nearby furniture and floors with plastic sheets or old blankets. This protects them from falling debris and dust.
Use caution tape or warning signs to block off work areas, especially in homes or offices with children or employees around. Planning your junk removal services ahead of time helps manage waste better and keeps the workspace clear.
Start Demolition with a Controlled Approach
Don’t rush into smashing things. Start by removing smaller, easier items like doors, shelves, and trim. Then move to larger areas like flooring or walls.
Use smart techniques. For example, score the drywall before pulling it down. Detach cabinets and unscrew fixtures instead of forcing them out. These simple steps make your work cleaner and reduce damage to the parts you want to preserve.
Handle Waste and Debris Responsibly
After demolition, you’ll be left with a lot of waste—wood, tile, nails, and dust. Arrange for debris hauling or rent a dumpster ahead of time so you can dispose of materials quickly.
Separate materials for recycling where possible. Many demolition contractors offer eco-friendly disposal services, making sure waste doesn’t end up in landfills unnecessarily.
Inspect the Site Before Starting Construction
Once you’ve completed demolition, walk through the space and check everything. Make sure no plumbing or electrical wires have been damaged. Confirm that the framework and base structure are safe and ready for renovation.
This inspection saves you time and money down the road. A clean, damage-free site sets the stage for smooth remodeling or construction work.
When You Should Hire a Demolition Contractor
Some projects are simple and can be done DIY. But if your project involves structural changes, hazardous materials, or tight deadlines, hiring a professional is the smarter and safer choice.
A licensed demolition contractor brings experience, tools, and safety knowledge that make even complex jobs efficient. They’re especially helpful in selective demolition, where only specific areas are taken down without harming the surrounding structure.
Benefits of Working with Professionals Like Dump Brothers
Companies like Dump Brothers Demolition & Junk Removal make the entire process easy for you. They manage everything—from planning and tools to cleanup and debris hauling.
Whether it’s a minor demolition job in your home or a light commercial teardown, their trained crew ensures your site is safe, the work is done efficiently, and everything is left clean and ready for the next stage.
Conclusion
Light demolition may seem easy, but one wrong step can lead to delays, injuries, or damage. Whether you’re taking on a small DIY project or remodeling a commercial space, planning and safety are key.
Take your time, follow the steps, and don’t hesitate to call a professional when needed. Proper demolition planning ensures your renovation starts strong and ends beautifully. For more details, check out our website USA Time Magazine.
FAQs
Q1: What is light demolition?
Light demolition means removing small parts of a building, like walls, floors, cabinets, or fixtures, without tearing down the whole structure.
Q2: Can I do light demolition myself?
Yes, small tasks like removing shelves or tiles can be done yourself, but for safety or complex work, hiring a professional is better.
Q3: Is light demolition safe?
A: Light demolition is safe if you plan properly, use the right tools, and wear safety gear. Always check for wires or pipes before starting.
Q4: How long does a light demolition take?
A: Most light demolition jobs take a few hours to a couple of days, depending on the size of the area and the type of materials being removed.
Q5: Do I need a permit for light demolition?
In many areas, small demolition work doesn’t need a permit, but it’s best to check with your local building office or ask your contractor.