Drawing always feels like magic. One moment, the paper is blank, the next it’s full of shapes and lines that start looking like something real. When I first tried sketching, I remember sitting at my kitchen table with a dull pencil, trying to draw my dog. It looked more like a potato than a dog, but I still felt proud. That’s the thing about drawing. Even if it looks silly, it’s yours. And the more you practice, the better it gets.
This guide is broken into 7 easy steps. Nothing fancy, just simple stuff anyone can do. You don’t need expensive supplies. A pencil and paper are enough. I’ve seen kids draw on pizza boxes and neighbors sketch on The point is, you don’t need much to start.
Step 1: Start with Simple Shapes
Everything you draw comes down to circles, squares, and triangles. Think of a house. It’s just a square with a triangular roof. A cat? Round head, oval body, triangle ears. When I learned this trick, it felt like a secret cheat code.
If you ever feel stuck, break whatever you’re drawing into shapes. My cousin once drew a car this way. At first, it was just a bunch of boxes, but when he added wheels and lines, suddenly it looked like the family’s old Toyota.
Step 2: Light Lines First
Don’t press too hard at the start. Draw soft lines, almost like whispers on the page. You can always make them darker later. I used to press so hard that when I tried to erase, the paper ripped. Learned that lesson quickly.
Think of it like sketching a map. The light lines are your guide. Once the map feels right, you trace over the roads you want people to follow.
Step 3: Add Details Slowly
Once the shapes are done, start adding little details. For a face, add eyes, nose, and mouth. For a tree, add branches and leaves. Take it slow.
One kid in my neighborhood used to rush and draw everything in five minutes. His stuff always looked messy. When he started slowing down, his drawings came alive. He drew a bike once that looked so real, another kid asked if he could ride it.
Step 4: Practice Shading
Shading is what makes drawings pop. It’s the difference between a flat circle and a round ball. Try shading one side darker and leaving the other light. Pretend there’s a lamp shining on it.
I remember trying to shade an apple. At first, it looked like a red blob. Then I added darker spots under one side and lighter spots on top. Boom. Suddenly, it looked like something I could eat.
Step 5: Look at Real Stuff
The best way to learn is by looking at real things. Want to draw a shoe? Put your shoe on the table and draw it. Don’t guess. Just copy what you see.
I once tried drawing a bird from memory. It looked more like a lumpy chicken. Then I looked out the window and copied the sparrow on the fence. Way better.
Step 6: Keep Erasing and Fixing
Don’t be afraid to mess up. Everyone does. Erasers are your friend. I used to think real artists didn’t make mistakes. Truth is, they erase all the time.
One time, I drew a hand that looked like a bunch of sausages. I erased and tried again. Still sausages. But after five tries, it started looking like fingers. Practice and fixing are the secret sauce.
Step 7: Practice Every Day
This is the big one. The more you draw, the better you get. Doesn’t matter if it’s five minutes or an hour. Just draw something.
A neighbor of mine started drawing during coffee breaks. At first, his stuff was simple doodles. A year later, he was sketching portraits of his kids that looked almost like photos. Small steps add up fast.
Common Problems People Have
-
Paper ripping: Happens when pressing too hard. Use lighter lines.
-
Things look flat: Try shading and shadows.
-
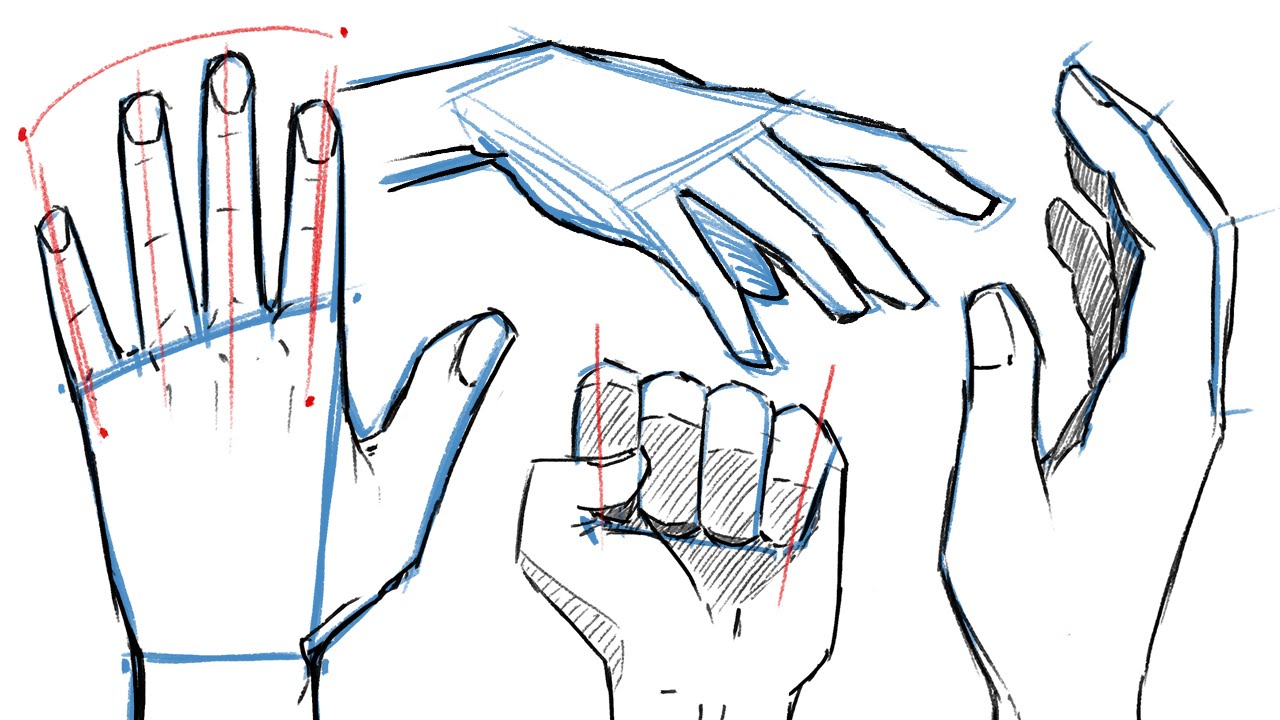
Hands are hard: Break them into shapes. Palm is a square, fingers are sticks.
-
Running out of ideas: Draw stuff around you. Coffee mugs, phones, trees, even pets.
Seasonal Drawing Ideas
Sometimes the season can inspire what to draw. In the fall, sketch pumpkins or leaves. Winter, try snowmen or mittens. In spring, flowers are everywhere. Summer, kids love drawing ice cream or bikes. I once saw a neighbor’s kid draw his summer trip to the beach. Sand, waves, even the lifeguard chair.
Why This 7-Step Guide Works
Because it’s simple. You don’t need a fancy art school degree. Just shapes, light lines, details, shading, real life, fixing mistakes, and practice.
Drawing isn’t about being perfect. It’s about enjoying the process. Some days, my sketches look goofy. Some days they surprise me. Either way, I always feel better after drawing.
Final Thoughts
The Easy 7-Step Guide to Drawing is really just about starting small and building up. Anyone can do it. The first drawing might not look like much, but give it time. Every line you put down teaches you something new.
Next time you sit with a pencil, remember: start with shapes, draw light, add details, shade, look at real things, erase mistakes, and practice every day. That’s it.
And who knows? The next “potato dog” you draw might turn into a masterpiece.
Also Read: Money Saving Tips
FAQs
What is the easiest step-by-step drawing for beginners?
Start with shapes like circles and squares. Then slowly turn them into things like houses, trees, or faces.
How to start drawing for beginners step by step at home?
Get paper and a pencil. Begin with light lines, add details, and erase mistakes. Practice every day.
What tools are needed for step-by-step beginner drawing?
A simple pencil, eraser, and paper are enough. Later, you can try sketchbooks and softer pencils.
Which shapes come first in beginner step-by-step drawing?
Circles, triangles, and squares. These shapes make up most things you see.
How long should a step-by-step drawing practice take each day?
Even 15 minutes a day makes a big difference.
What are the common mistakes in drawing for beginners, step by step?
Pressing too hard, skipping shapes, and giving up too fast.
How to draw faces for beginners step by step?
Start with an oval, add a line for eyes, then a nose and mouth. Keep it simple at first.
How to draw animals for beginners step by step?
Break the body into circles and ovals, then add ears, legs, and a tail.
What is a simple step-by-step way to shade for beginners?
Pretend a light is shining. One side darker, one side lighter.
How to turn basic shapes into objects step by step for beginners?
Combine shapes. A car is a rectangle with circles. A cat is oval with triangles.